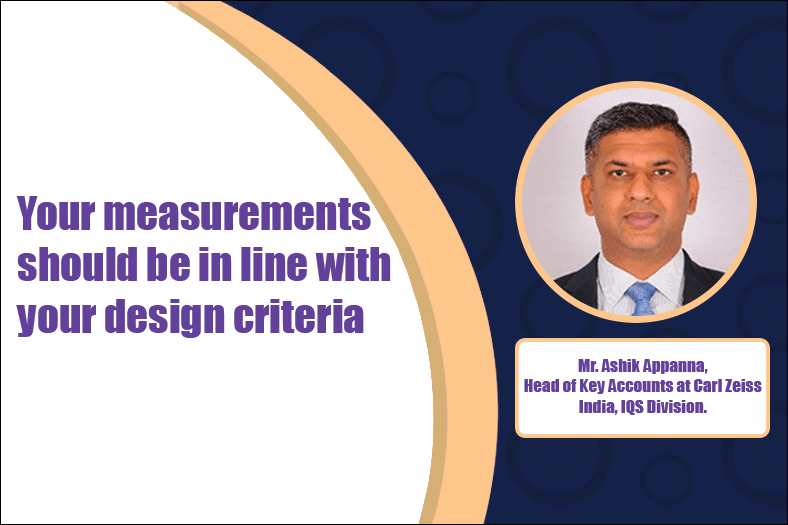
Your measurements should be in line with your design criteria
August 2, 2021 2:26 pm
Anything you manufacture should be measured 100 percent and should be traceable.
Share your perspective about components specific measurements challenges and solutions as well as new trends in metrology.
So, what you manufacture you need to measure and based on the feedback of measurements, you need to see how you proceed further. So, this gives me an excellent platform to continue once you have manufacturing then you have measurements, which is one of the most important criteria and just for the introduction on the aerospace industry.
Aerospace industry generally is categorised in three ways, you have commercial, defence and space as we all know, there’s also a fourth one, which is MRO where measurements are important, but it doesn’t take so much of lag as these three industries. But when you when you have these three industries, what’s common in these three industries is there are certain set of parts, these are very common aerostructures, propulsion system services, all these things are common, most of the parts are there, these are manufactured parts either by in-house people are the main OEMs outsource it to different countries to find good type of vendors. Now, these are very critical and require 100 percent inspection.
So, as we know in aircraft components or in aerospace industry, anything you manufacture should be measured 100 percent and also should be traceable, for any future traceable by other customers and for any future problems to be found. So, coming to this when seven parts are manufactured there, each part has a certain way for measurements. For example, if you see is a cross sectional view of a jet engine and you have different stages where each stage has blades and each blades play a very important role in generating power, which is really mandatory, and the quality of these blades should be very good as you all know, because any drop in problems can result in less energy. So, to take the output of maximum energy, your measurements should be in line with your design criteria. You have different types of blades available. In a jet engine, you have weather metal leading edge your compressor air foils your turbine, turbine, air foils and also bladed rotors, different types suited for different functions which has been efficient. So, are these just to give an example when you manufacture a blade to a supplier they’re sort of parameters twist angle, the leading-edge trailing edge all these are very important parameters in functioning of a blade.
Now we’ll have to see on how do you measure it, this is where we come in as expertise before measurements as you all know you need to have fixtured kit which is one of the most important things when before you do measurements, you have some different sizes depending on the different depending on the size of the blade you have these fixtures which are used. And once you have these fixtures, it can be mounted on a rotary table, you could have a contact based CMM which are used and the different type of sensors you have. These are called sensors or probes. Based on the quality requirements, whether it’s accurate bite size accurate medium accurate accuracy or high accuracy you can use different type of sensors.
You have a separate software, especially for blades and impellers. These are designed with special algorithms suiting each customer requirements. Suppose if a vendor is supplying to Boeing Airbus, so they have a specific requirement or even saffron. So, we fulfil those requirements for the customer using the from the software. And you see one of the methods, you have a very typical coordinate measuring machine measurement solutions where one system can hold the different types of sensors. That all depends on what the customer is manufacturing at his end. And there’s another type of solutions for quick measurements, where accuracy is not so important, but you just want to understand the profile of the blade. So, we have a noncontact 3D scanner which are available which are automated, which also can be automated.
Now one thing which I really am excited as always about is the new trends in metrology. We use X rays; we have the latest trend in measurements and processes. Why X ray, it’s just the same. So, concept what to use, when you go to hospital with a broken bone, to find out how much is broken where it’s broken, you use X rays, the same concept of machine is brought down in manufacturing today also to check to two things one is to check for internal defects and second is your metrology part of it. So, what actually exists are automatic waves and are able to penetrate matter easily they have the shortest wavelength and higher frequencies and because of this, you have penetrable properties. So, if you want to provide an even look, these options are there, we know there are several options depending on the customer requirement. Suppose the customer only wants to just look at crack, you have a 2D radius copy machine, if he wants to do a complete analysis to find out how the pores are where the pores are located in the casting and after machining, what exactly then you can use computer tomography and you also have micro-X rays, these are basically very, very high end used in research of materials there, and parts.
So, normally in the industry, you have the 2D radius copy and a computer tomography which is quite popular and field of application can be anything you have connectors, batteries, PCBs, powertrain casting components, casting machines, aerospace blades, and correct housings, like metal parts, even composites. We have proved these kinds of solutions for customers and why CT?
CT gives you a full insight about the park, how the part is assembled also what is the wall thickness and porosity or blow holes, all these can these kinds of solutions be done. And using the software once the part has been CT scan, you can also conduct metrology analysis direct comparisons, nominal comparisons and also defect analysis within the part that is external or internal. So, these are some fantastic things you can really get things done in using CT technology and even electronics PCB board testing some if you want to check with critical assemblies within the part. So, you can just print the part inside the machine, get the X rays, etc, scan and then do the analysis using the software. Sometimes you can also detect if you see the first one defect analysis, 3D you can actually locate where exactly is the defect at what plane what angle at what coordinates so that’s the beauty of the CT machines. What it overall does is you’re able to control your quality better. Suppose you would like to improve say productivity of your process of your process.
If you’re developing a new product and you want to decrease the product life cycle product manufacturer, take a prototype testing this is one of the best solutions is based on my experience what we have and after CT there’s something called optical sensors. Wherein this is used for parts which are very feeble can be plastics, thin plastics, and where you want to have quick measurements of dimensions to be checked. So, you have an option of combination of our non-contact system as well as the contact system wherein you. Wherever there is requirement for non-contact, you can use the light and wherever you have requirement for contact, you could use a standard probe button and how can the inspection can look you can also set it up for 100 percent inspection in line inspection.
If you want to look at any internal defects in your process, or external defects, you definitely can use X ray CT tomography system, and final inspection quality when it comes to that dimensional and surface quality inspection. So, we have a complete range of solution in additive manufacturing solutions, we have been successful in quite a few companies. And also, apart from additive manufacturing, we’ve included solutions for to metal injection moulding companies also. And one more, one more beauty of it is all the all the output of these machines, you know far apart can be connected digitally. So, if a customer wants to know what he wants, what he has done from right from a starting stage to finish stage, he can always take the results at one go.
Cookie Consent
We use cookies to personalize your experience. By continuing to visit this website you agree to our Terms & Conditions, Privacy Policy and Cookie Policy.
