Substantiating Quality with ZEISS CONTURA
February 9, 2022 7:08 pm
We have immense trust in ZEISS – Stefan Reim
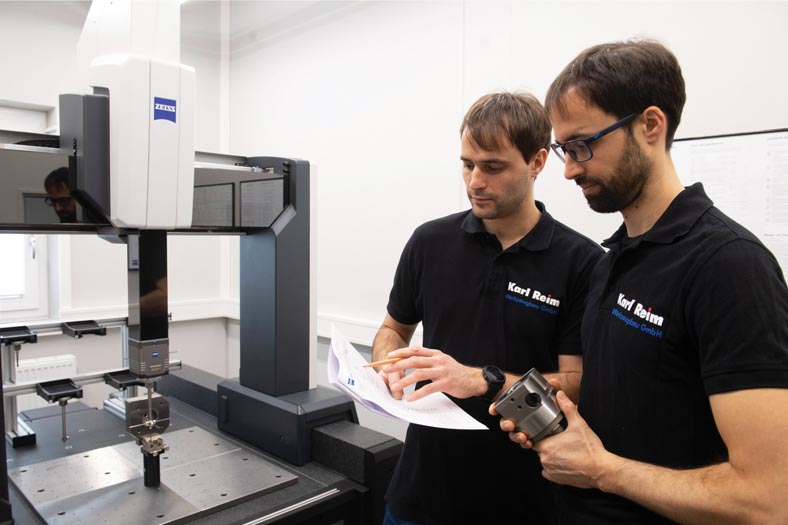
Karl Reim Werkzeugbau GmbH is well known for the exceptional quality of its mechanical components. Now the company‘s two managing directors want proof of this in order to turn their reduced reject rates into faster delivery times and to bring production steps back under the company‘s own control. The proposal from ZEISS to be a pilot customer for the newly developed ZEISS CONTURA coordinate measuring machine could not have come at a better time.
At Karl Reim Werkzeugbau GmbH, located in Kirchheim unter Teck at the foot of the Swabian Jura, things were getting tight. The facility‘s available space was occupied entirely by metalworking benches and machines. “Every time we purchased a new machine, we had to take an old one out of service to make room for it,” says Stefan Reim, who, together with his brother Andreas and his father Dieter, is the third generation to run the company. In 2019 the company completed a facility expansion which provided additional floor space not only for production, but also for a metrology room.
Proven quality
Karl Reim Werkzeugbau GmbH‘s components have always been of exceptional quality. “But we were unable to substantiate this with data,” says Andreas Reim. With ZEISS CONTURA this is no longer an issue: the coordinate measuring machine clearly shows how large workpiece measurement deviations really are, and whether or not they lie within specified tolerances. For some of Reim‘s individual parts and small-series production components, the tolerances are extremely narrow. This is the case with preset adapters, used by tooling machine operators to visually gauge their tools, which must be inspected in terms of their perpendicularity down to just a few arc seconds. Performing measurements with the CMM helps to further reduce the already very low rejection rate. And since the quality inspection is integrated early on in the manufacturing process, delivery times can be reduced by several days.
The plan to purchase a CMM first entered the minds of the company‘s two managing directors two years ago. A customer had informed them that ZEISS was looking for pilot users to work closely with them to test the latest ZEISS CONTURA, to provide initial feedback and to help develop the newly constructed machine into an optimal solution. The collaboration proved beneficial for both parties: And reas and Stefan Reim provided ZEISS with valuable feedback about the device, and ZEISS in turn ensured that Reim received exceptional levels of support in the months following commissioning of the machine.
Small space requirements paired with a large measuring volume
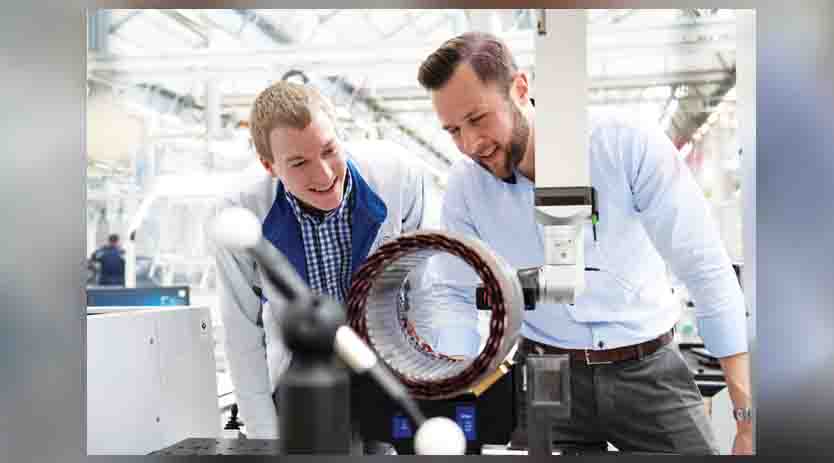
The fifth generation of ZEISS CONTURA machines was made for operations like Reim Werkzeugbau. The machine was redesigned from the ground up and is now so compact that it provides a 30 percent larger measurement volume when installed in an area of the same size and with a noticeably reduced device height. The managing directors at Reim were given an introduction to the new machine over the course of three days. “This device offers so many possibilities — for first-time users this is astonishing at first,” says Andreas Reim. But thanks to the on-site training provided by ZEISS, the two CMM newcomers were able to quickly learn how to operate the device. Now the two company heads want to expand their machining services and acquire new customers. To do this, no new machines are required. The facility‘s existing machines have machining accuracy to spare, but until now workers were unable to tap into it because it could not be measured. “Now certain machining tasks which were previously outsourced can be reclaimed and performed in house,” says Andreas Reim. In the long term, Reim Werkzeugbau plans to introduce new machining technologies such as the coordinate grinding of inner bores.
Data over paper
ZEISS CONTURA is also the catalyst for digitalization at Reim Werkzeugbau. Since nearly all of Reim’s customers use ZEISS CMMs, the company naturally wants to be able to send measurement reports digitally in the future, instead of sending them on paper as they have in the past. This will enable their customers to do away with quality inspections when goods arrive, since these will have already been performed by Reim Werkzeugbau, and the uniform, digital reports will be able to demonstrate this. “We have immense trust in ZEISS,” says Stefan Reim. “We would have purchased a ZEISS machine even if we had not been selected as a pilot customer. Our trust has grown not only because of the outstanding quality of their systems, but also because of the excellent service we‘ve been provided.”
Cookie Consent
We use cookies to personalize your experience. By continuing to visit this website you agree to our Terms & Conditions, Privacy Policy and Cookie Policy.




 English
 Hindi
Hindi