Aluminium casting: Accurate parts evaluation with a 2D X-ray device
February 4, 2023 1:47 pm
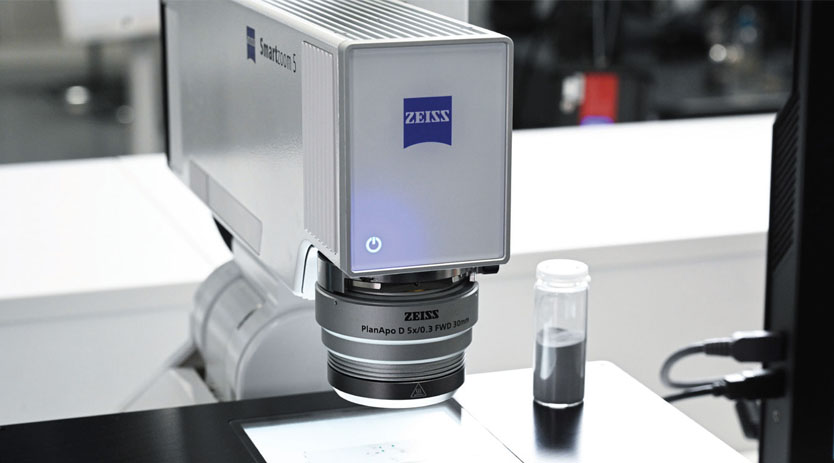
ZEISS BOSELLO MAX simplifies the decision-making process at VMG Dambauer through high image quality and high resolution.
Up to 400,000 motorcycle chassis components are produced yearly at VMG Dambauer in Vöcklabruck, Austria. Each part has to fulfil rigorous quality requirements, and it concerns people’s safety. To identify good and bad parts as accurately and efficiently as possible, the company relies on the 2D X-ray device ZEISS BOSELLO MAX. Thanks to its excellent image rendition, it’s never been easier for the staff of this aluminium foundry to make the right decision.
The quality demands for components in the automotive industry are incredibly high, and that’s a good thing. There is perhaps no better example of that than the chassis parts for motorcycles, such as the wings of the rear wheels and the wheel hubs. Whether during acceleration or when going around a curve, these parts endure continuously high forces throughout their entire product lifecycle. A material breakdown due to undiscovered defects would most likely have drastic consequences for humans and machines. End customers, therefore, trust that the manufacturers of their choice will do everything in their power to install flawless components into the end product. In order not to disappoint the trust of their customers, manufacturers, in turn, demand the highest possible standards in quality assurance from their suppliers —with no exceptions or compromises.
The metal foundry Dambauer GmbH in Vöcklabruck in Upper Austria knows that, too. Dambauer is a medium-sized family-owned company that supplies predominantly large German and Austrian manufacturers of motorcycles with aluminium cast parts, plant manufacturers and makers of traffic technology. Up to 400,000 chassis components are produced annually by Dambauer’s 170 employees. And business is always looking better as the motorcycle continues to enjoy growing popularity. Dr. Georg Dambauer manages the company in the third generation. His grandfather, Alois Dambauer, founded the company together with his wife, Margarete, in 1955. Georg Dambauer feels a great sense of responsibility toward this heritage: “I owe it to my family, my staff and our customers to always deliver the best possible quality,” he says. “That’s why it’s so important to us that we always use the latest production and quality assurance technology.”VMG Dambauer relies on ZEISS BOSELLO MAX, a 2D X-ray device, to ensure that only perfect parts are delivered to customers. By positioning in the middle of the shop floor, this machine allows employees to make fast, accurate decisions about whether a cast part fulfils a customer’s high demands.
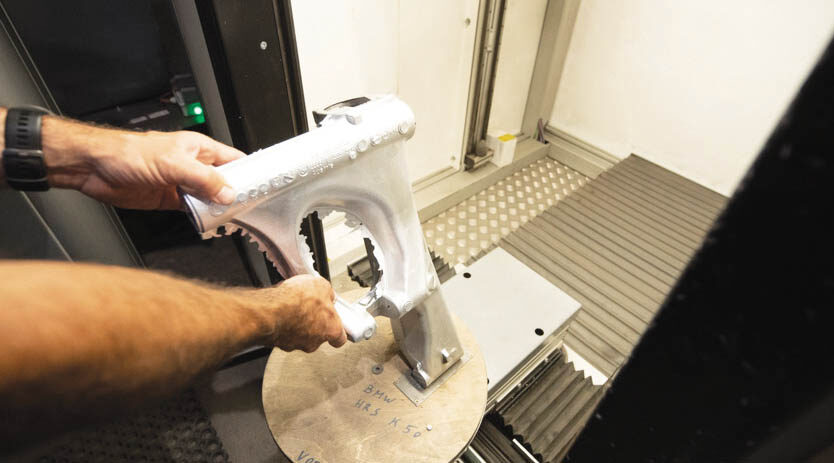
Fast and reliable analysis of manufactured components
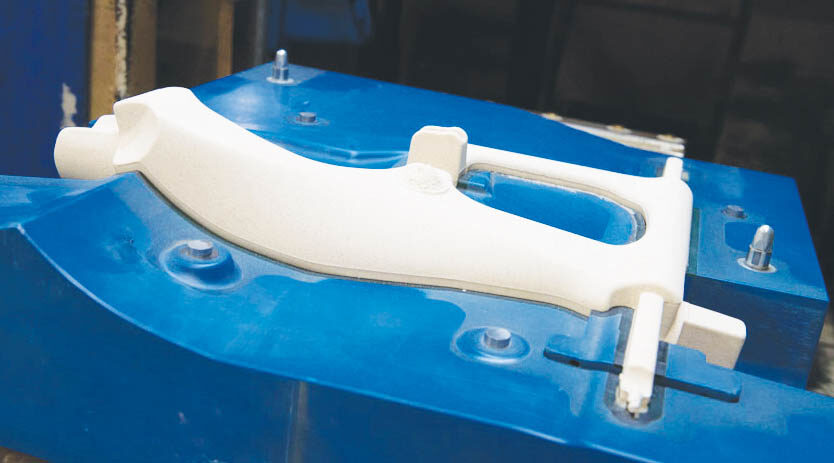
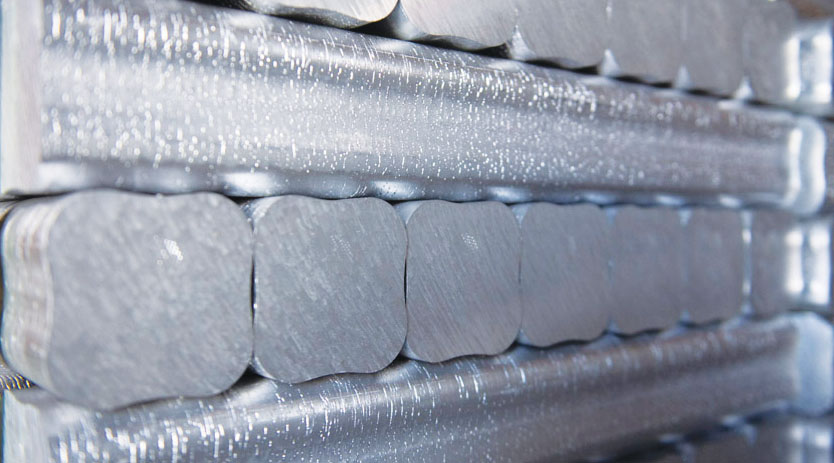
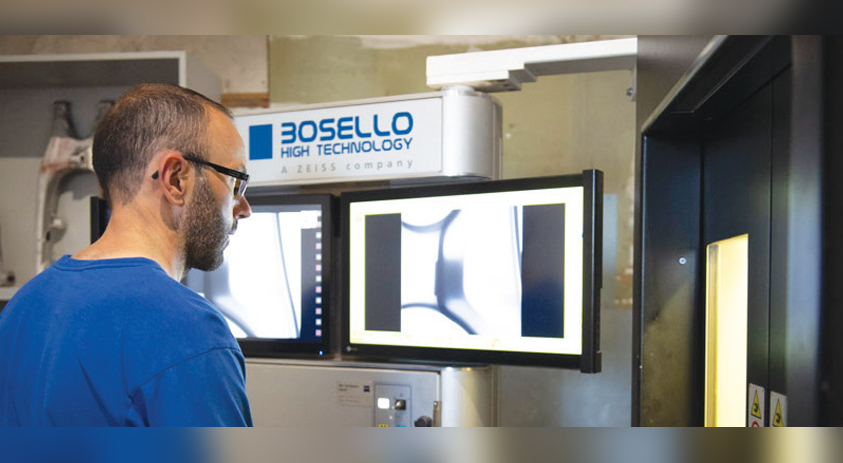
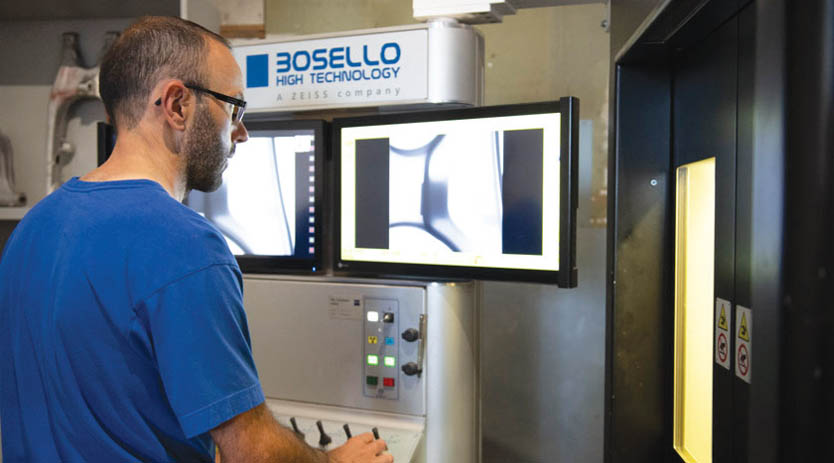
After the aluminium bars are delivered, they are melted, cleaned and refined before steel forms, after going through different processes, giving the molten light metal its raw form. This is followed by mechanical processing. A band saw removes the first cut; with more complex interior geometries, the sand core is sometimes removed too. But no matter how high the quality of the delivered raw material and how sophisticated the casting and refining process is, defects like pores, cavities and foreign material cannot be avoided 100%. To recognize such defects immediately, a ZEISS BOSELLO MAX 2D X-ray device is located on the shop floor at VMG Dambauer. The device immediately gives employees a view into the interior of the just-produced parts.
“We have a 100 percent inspection obligation for our motorcycle components,” explains Georg Dambauer. “The customer requires that.” The production employees, therefore, analyze on their own every single part that comes off the production line with the X-ray device. Anywhere between 5 and 15 images are made, depending on the complexity of the component. This process takes several minutes, even for more experienced staff. Given the targeted quantities, saving as much time as possible without losing knowledge is imperative. “That’s why we like the ZEISS BOSELLO MAX machine so much — because compared to other X-ray machines, it offers a higher image quality and higher image resolution,” says Georg Dambauer. “You see a little more, which makes it much easier for our staff to decide whether a part is OK or has to be scrapped. That alone speeds up the process by up to 10 percent.” The user-friendly operation of the device helps, too: “Both the first-time programming and the testing itself happen so intuitively; our employees are thrilled with it,” says Dambauer.
With ZEISS, get ready for the future
The decision for ZEISS was made initially for purely pragmatic reasons. “We had a short-term need for another X-ray device in production and needed a fast delivery,” explains Georg Dambauer. “ZEISS and BOSELLO were both very accommodating about this and were able to deliver a device within a few weeks.”Even before that, however, Dambauer had already set his eye on the Italian company BOSELLI because of its high-quality 2D X-ray machine. “The acquisition by ZEISS made the decision for BOSELLO easier for us because we could now get support in German. And the customer-friendly dedication to fulfil our wish for a fast delivery was an additional factor.”
Aside from the fast delivery, Georg Dambaueris overall happy that he decided on the ZEISS BOSELLO MAX: “We have invested in the latest 2D X-ray technology and can offer our customers a little bit more certainty at even higher productivity.” Furthermore, given the growing quantities, they need to produce, automated quality assurance is becoming an increasingly attractive way for the company to boost its efficiency. And the conditions for this are already there with ZEISS BOSELLO MAX because it offers the option of automating the decision-making process during the inspection of components through the error-recognition software ZEISS BOSELLO FARIS ADR. In light of the growing complexity of the manufactured parts coupled with ever-stricter requirements, VMG Dambauer’s CEO can also imagine investing in a computer tomograph for quality assurance in the longer term. “Then it’s good to know that we have a strong, competent partner like ZEISS at our side with whom we can — and will — further develop our technology.”
To Know more contact: info.metrology.in@zeiss.com
Cookie Consent
We use cookies to personalize your experience. By continuing to visit this website you agree to our Terms & Conditions, Privacy Policy and Cookie Policy.




 English
 Hindi
Hindi